Have you noticed the difference that proper matting can make, when it comes to displaying photographs and prints? The right mat and frame can really make a difference. A plain old black and white photo can turn into a fascinating piece of wall art, when matted correctly. Here are the steps that you can take to mat a picture like a pro.
Step One: Make a Plan

Source: architecturaldigest.com
To properly mat a picture, you need to get your artistic juices flowing! You’ll need to make a few decisions, such as what color mat board to buy, and how much border you want to be around the image you’re putting on display. If you are putting several pictures into the same frame, you need to figure out how you want to arrange the images. All of this will effect the over-all appearance of your finished product, so don’t skip this step.
Step Two: Gather Your Supplies
To mat a picture like a pro you really need to have the right tools. You don’t work in a framing shop, so you’re not going to have the deluxe or expensive tools that the pros have, but you do need to have adequate resources so your project doesn’t turn out looking like you hacked your way through the process! Gather the following supplies:
- A frame
- Mat board (4 to 8 ply works best)
- Foam core board
- Glue (such as rubber cement)
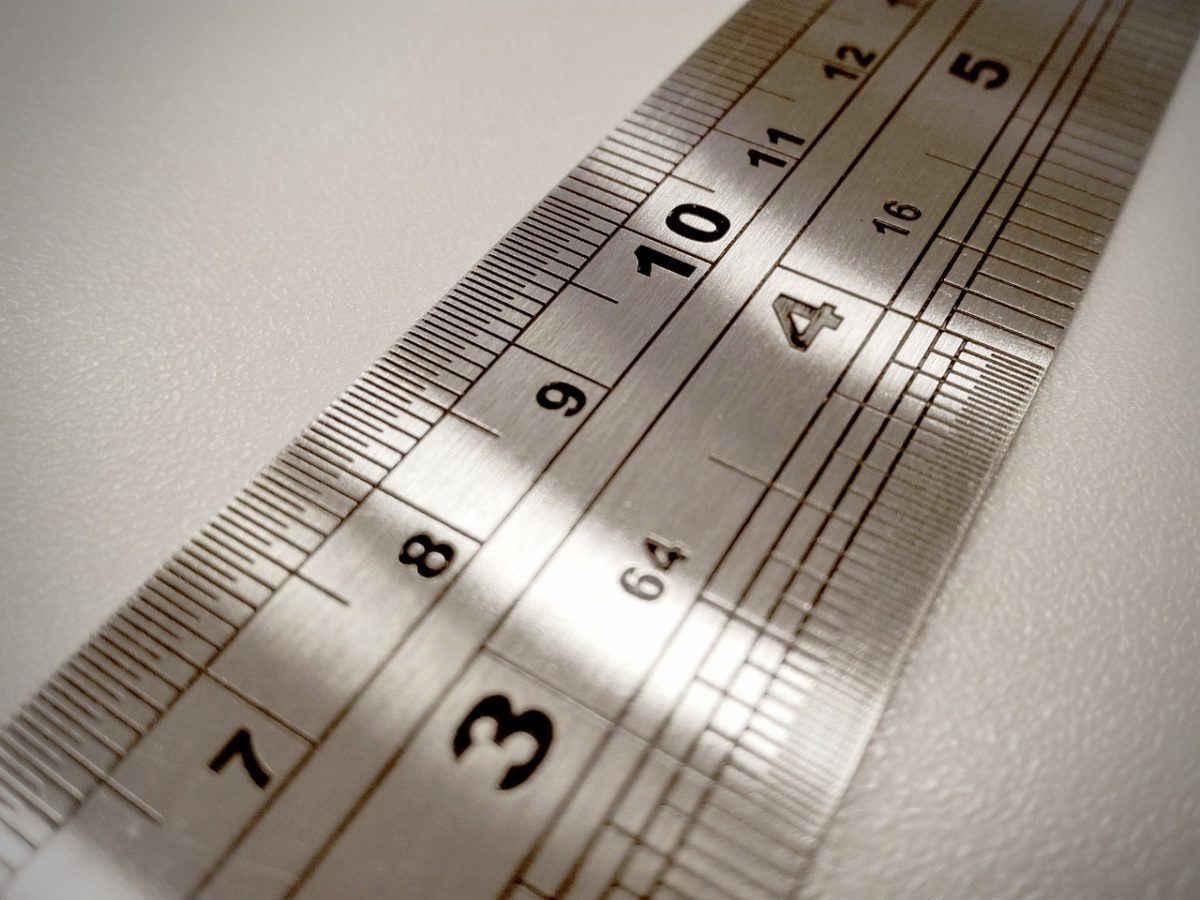
- Straight edge ruler
- Square corner for tracing (an actual tool works best, but a book can do the trick)
- Pencil
- X-Axto knife
- Your artwork or photograph
Step Three: Make the Cuts
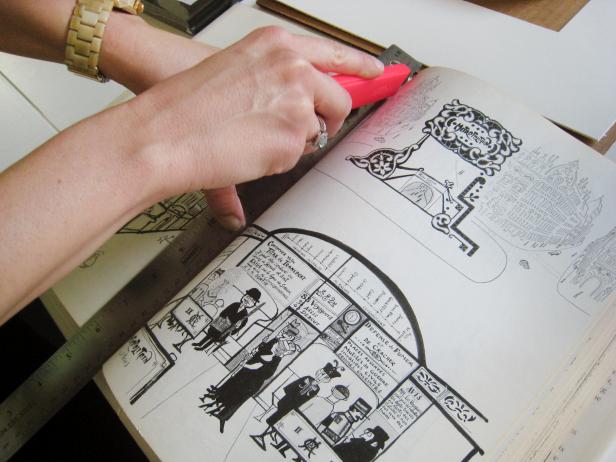
Source: hgtv.com
You know the old rule of thumb, measure twice and cut once, right? Yep, that applies here, too! Mat board is not cheap, so don’t rush this step. You will want to draw light pencil markings on the board, outlining where you will need to make the cuts. Use a square, your straightedge ruler, and a pencil for making these marks.
Place a protective layer (cardboard will work) down over your cutting surface, so that the X-Acto knife doesn’t leave marks. Cut the foam board to the exact size of the frame you want to fill. Next cut the mat board to that exact size as well. You will make a second cut on the mat board that is the size of the artwork you want to display.
Step Four: Assemble the Pieces
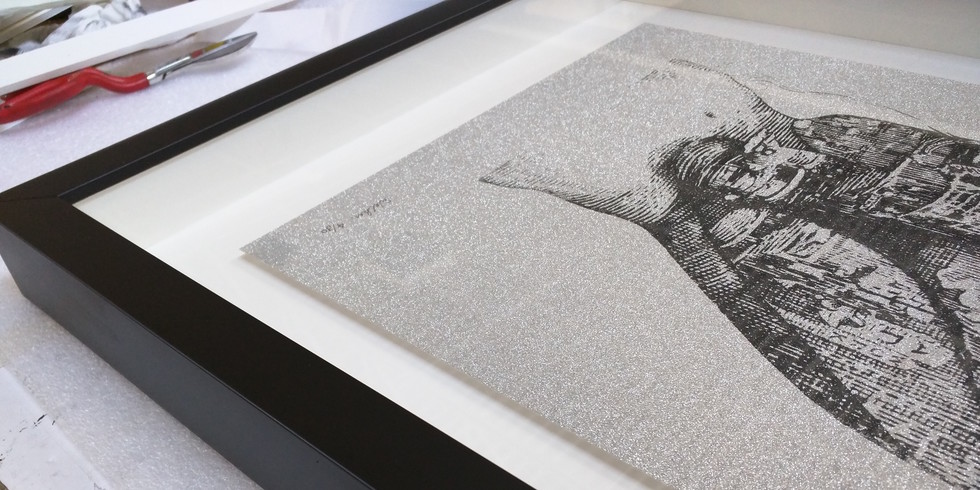
Source: levelframes.com
Next you need to assemble all of the pieces. The frame that you have should come with a back. Take the back off. Place the cut-to-size foam core board on top. Next, place your picture down on the foam-core board. Glue the picture down so it does not slide. Add the cut-to-size mat board on top. Glue this as well. Add the frame’s glass to the top of this, and then put the whole “sandwich” into the frame. Close it up.
Once you know how to mat a picture like a pro, you’re going to see possibilities everywhere. Anything can turn into beautiful wall art, like a card you get in the mail, a photograph from a used book, or a glossy photo of food in your favorite cooking magazine. Have fun with your new interior design skill! What project are you going to tackle first? Leave a comment below.
I thought it was interesting when you talked about how a black and white photo can turn into a fascinating piece of art with a frame. My wife and I recently got some family photos done and we are wanting to frame them so that we can put them in our living room. It might be a good idea for us to research photo frames on the internet so that we can find what we want.
Ooh, nice! I think I’ll surely consider this kind of option when I go out and make a purchase pretty soon. My nephew just landed a huge photo shoot job for a famous person (I’m not gonna share it here, haha!) and I’m so happy for him which is why I want to give him something special. Thanks a bunch for letting us know that a suitable color scheme for a frame can make our picture truly stands out from the rest.