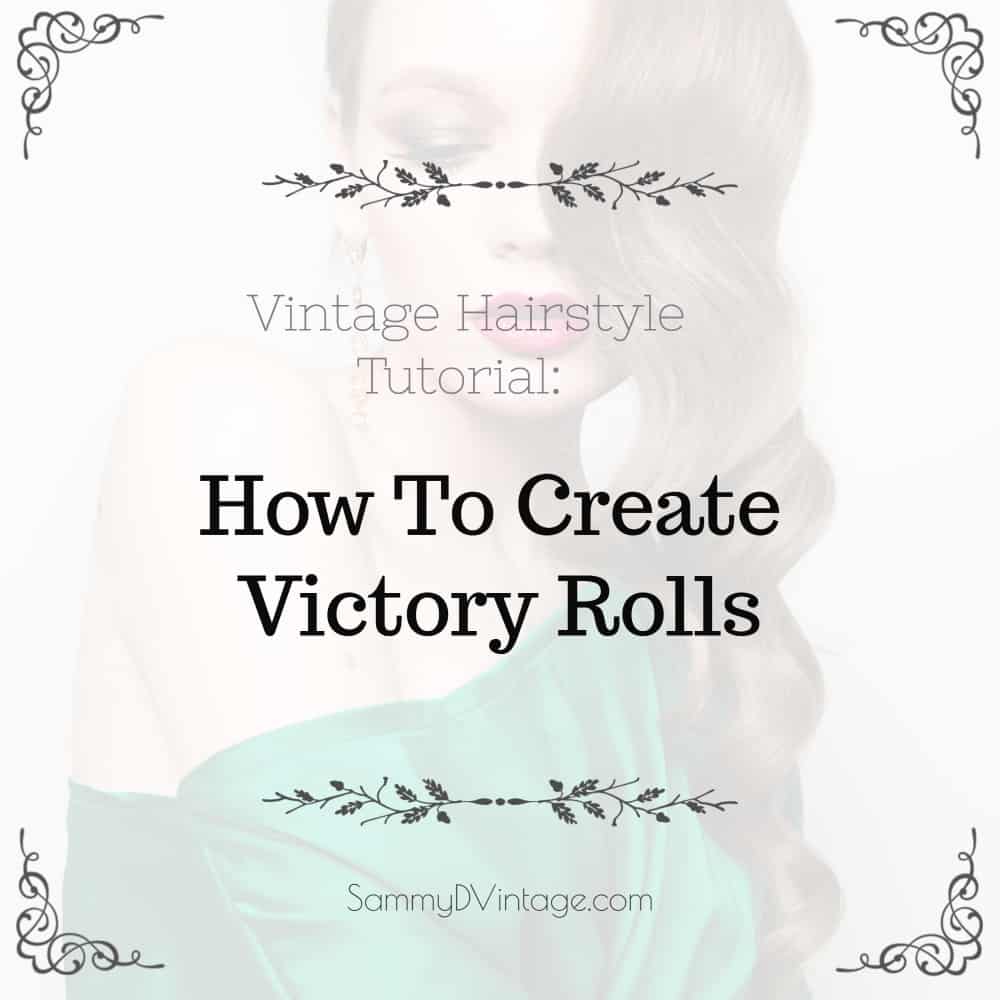
There’s one vintage hairstyle that stands out from all of the rest, and that is Victory Rolls. In a previous post, we gave you guys some ideas for vintage hairstyles to go with your favorite outfits. In this post, we want to zoom in on Victory Rolls and give you step by step instructions for creating this look at home.
It is one of the most iconic, feminine, down-right awesome vintage hairstyles out there, but it can be a challenge to put together. Don’t end up with a floppy, frizzy mess. Read through these instructions so that your curls look polished, pretty, and authentic!
What You’re Aiming For
Here’s the final look that you will achieve:

Source: deadlyisthefemale.com

Source: hot1940shairstyles.com
The Steps To Creating Victory Rolls
And here are the five steps that you will need to take to get the look.
1. Gather Supplies
For this style, you need to start with day old hair that is dry and tangle-free. Just-washed hair will be too slippery and the curls will not hold. Get your supplies together. You’ll need an inch barrel curling iron, thermal protection spray, a wax product, hairspray, a teasing comb, a brush, bobby pins and a blow drier (optional).
2. Curl the Bottom Layer

Source: southerncurlsandpearls.com
Pull most of your hair up onto the top of your head, leaving about an inch of your hair down. Curl this bottom layer of hair first. Hold an inch wide section of hair out from your head, and place the curling iron around the ends.
Roll the curling iron under and in until it almost touches your scalp. Hold it in place for a few seconds so that the heat of the iron will form a curl. When your hair feels almost too hot to touch, release the curl. Pin the just formed curl up onto your scalp to hold it in place.
3. Curl the Middle and Top Layers

Source: beautylish.com
Next release the hair that is held on the top of your head. Sweep the top of it back up, leaving a mid-layer down. Curl this in uniform, inch-wide sections, just as you did with the bottom layer of your hair. When you have a row of curls, repeat the process. Release your hair, leave another layer down, and curl it. Finally, curl the very top layer of hair, so that now all of your hair is in curls, pinned to your head.
4. Cool and Unfasten
Wait at least ten minutes, so that your hair can cool off and the curls can set. If you pull the pins out too early, the curls will be weak and may straighten out quickly. Be patient! After ten minutes, pull the bobby pins out so that the curls fall free.
5. Create the First Victory Rolls

Source: pinterest.com
Now you are ready to create the one or two curls on the very top of your head. Whereas your other curls wrapped down and under, these curls will sweep upwards, in the opposite direction. Start by placing your thump at the top of your ear and using it to sweep your hair up, as if you are making a partial pony-tail.
Keep moving the hair up until it reaches the back of your part. Hold this section of hair up while you tease the back of it. Give it a little shot of hairspray to set it. Then smooth the front of it with your comb, and create a roll with your fingers. Place a bobby pin in the center (hidden as best as possible).
6. Polish and Make The Second Victory Roll

Source: hairasart.tumblr.com
Anchor with several more pins. Use a drop of wax and smooth out the baby hairs near your ear and cheek. Give the roll a second spray to set it. Next, repeat this process on the other side of your head. The two front curls should almost touch at the top of your head. Run your brush through the rest of your curls gently, to smooth and polish. Add a flower above one ear if you so desire!
Victory Rolls are named after a move that fighter pilots used to perform during WWII. Women started wearing this style in the 1940s, in honor of the soldiers who were returning home. This throw-back look is a great way to top off a forties outfit… or any other outfit, for that matter! Have you ever tried creating Victory Rolls before? How did it go? Leave a comment below!
Leave a Reply